
Instant Coffee with a Milk Frother: A Simple Home Method
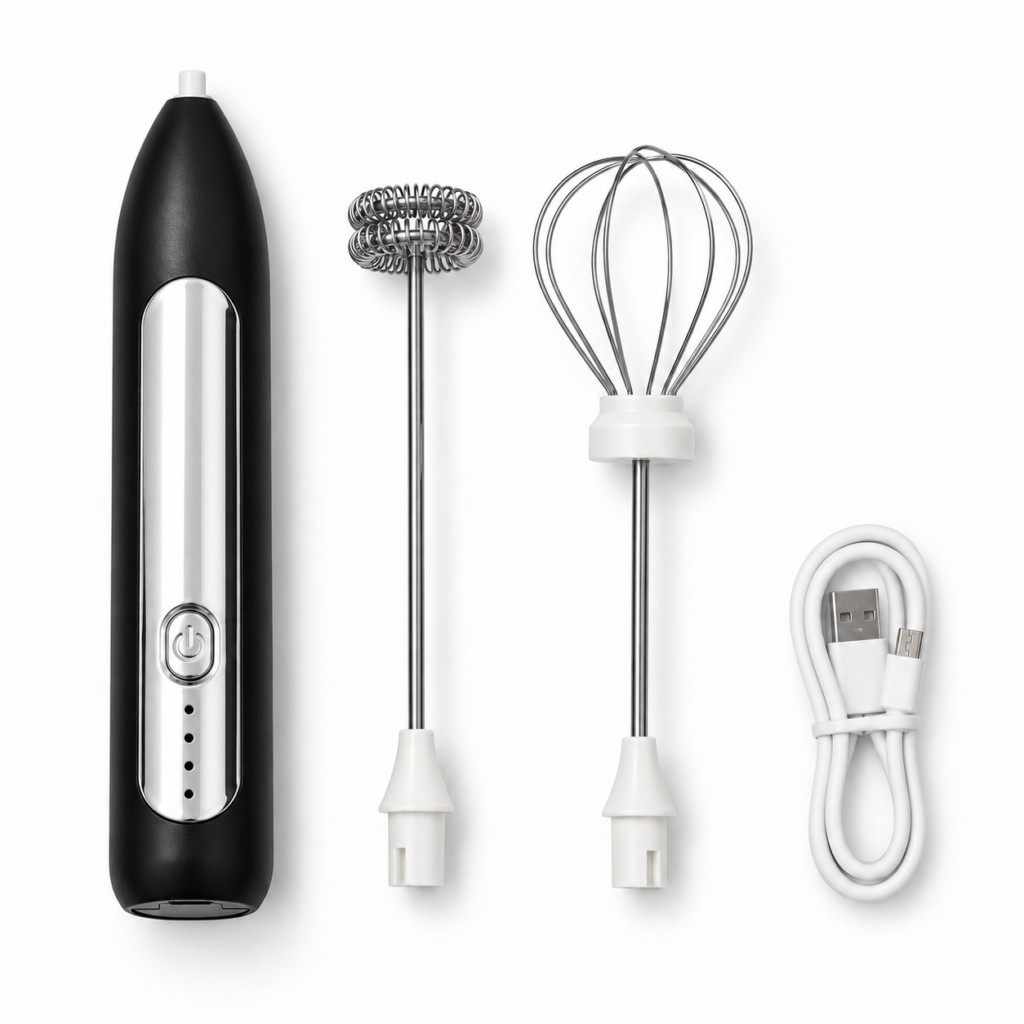
A straightforward way to use a milk frother with instant coffee is to make the coffee base first and froth the milk separately. It keeps the coffee strength easy to adjust and avoids sending dry granules around the cup with a spinning whisk. You get a home coffee drink, not espresso extracted by an espresso machine.
Decide what you want from the frother
Do you want milk foam on top, help with a small drink mixture, or a whipped-coffee recipe? Those are not identical tasks. This guide focuses on an ordinary milky coffee with a separately prepared topping. It does not assume the motor can sustain the heavier or longer mixing that another recipe might require.
The HandyDost handheld beater comes with a double-coil frothing head and a balloon whisk. For this method, identify the frothing head and fit it with the motor switched off. Follow the device instructions for power and operating limits.
Make a small, fully mixed coffee base
Measure instant coffee according to its pack. Add the recommended water and stir until there are no obvious dry granules. Add sugar at the stage your coffee recipe recommends. Keep the base small enough that there is room for milk in the final mug, but do not arbitrarily concentrate the coffee far beyond a serving you enjoy.
The NESCAFÉ classic-latte method likewise builds a drink from instant coffee and separately prepared milk. Different instant coffees vary in strength, so the packet remains a better serving guide than a universal teaspoon claim.
Prepare the milk in another vessel
For a warm drink, heat the milk separately in appropriate equipment. Do not place the frother handle over an active hob or expect it to heat cold milk. Transfer the milk to a stable cup or jug with room above the liquid.
Lower the coil into the milk before starting. Keep it clear of the vessel and make small movements rather than sweeping the wand around like a spoon. Switch off before lifting it out. Pour the milk into your coffee base, then spoon on any remaining foam if you want a more visible top.
Use a repeatable adjustment method
If the first cup is too milky, adjust the milk-to-coffee balance next time. If it is too strong, reduce the coffee serving or add a little more milk. If the foam collapses quickly, compare the milk and technique rather than changing the coffee dose immediately.
A small note on your usual mug size, coffee serving and milk product can be enough to make the next cup predictable. You do not need a complicated recipe spreadsheet. The useful question is whether you can reproduce a drink you like without extra steps or waste.
Common mistakes to avoid
Frothing a full mug: leave headroom or prepare the milk separately. Using the wrong attachment: identify the coil instead of choosing the larger head because it looks more powerful. Chasing a café claim: a small wand does not create espresso, control milk temperature or guarantee latte-art texture.
Leaving cleaning for later: wash the detached head and dry it after use. Keep the electrical handle and port out of water. A clean tool is easier to use consistently than one carrying dried residue from the previous drink.
Choose the next guide by the problem
Read the no-foam troubleshooting guide for a flat result, the iced-coffee workflow for a cold version, or how to clean the frother. The HandyDost guide library keeps all the steps in one place.