
How to Make Iced Coffee Without a Blender
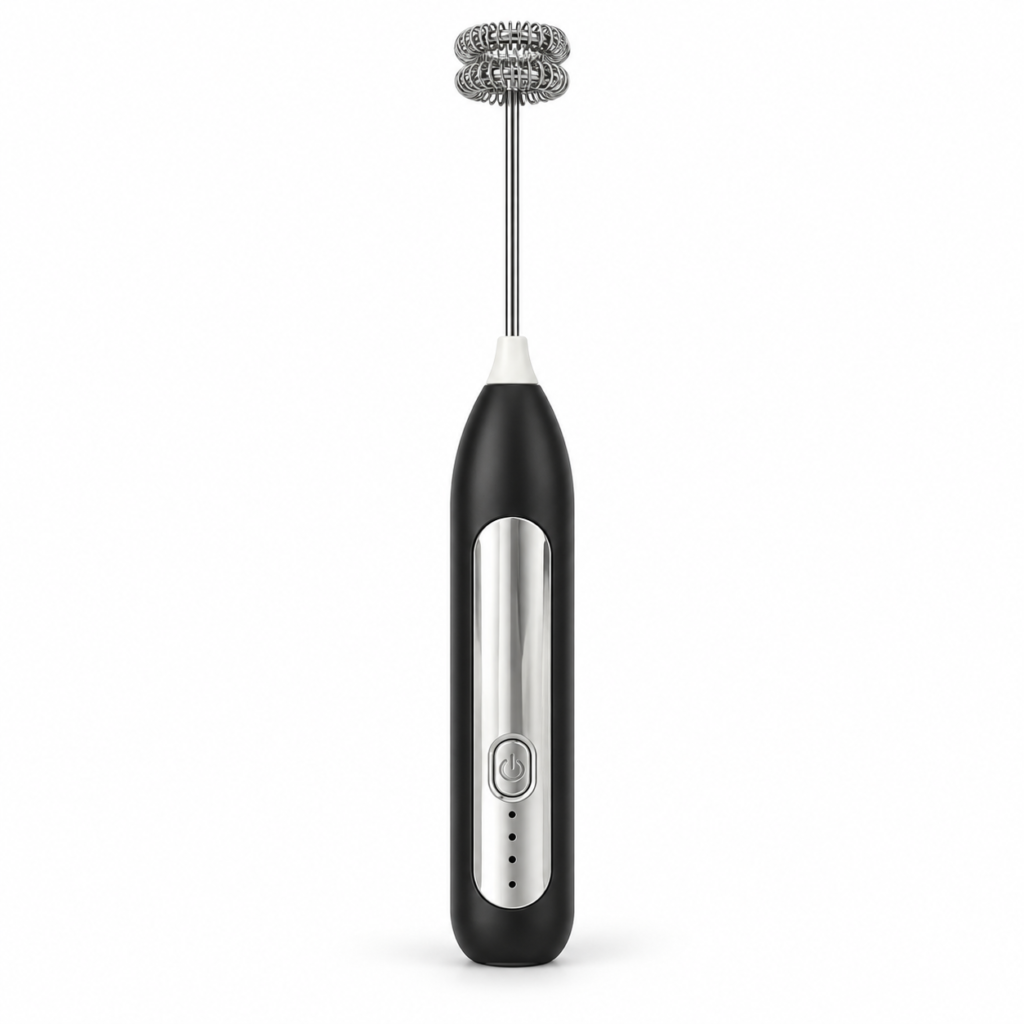
You do not need a blender for a simple iced coffee. Prepare the coffee, combine it with cold milk and ice in a serving glass, and use a separate milk-frothing step only if you want a foam topping. The crucial distinction is that an iced coffee can contain ice without the preparation tool needing to crush it.
Choose an iced drink, not a blended one
A glass of coffee served over ice is different from a thick frozen drink in which the ice is crushed throughout. A handheld frother can help with milk or a light drink mixture; it does not turn into a blender when ice is added. The HandyDost beater’s listing specifically excludes hard and frozen mixtures.
For a first attempt, aim for an ordinary drink that pours easily. Decide whether you want the coffee and milk mixed evenly or left in visible layers. Both can be assembled with a spoon.
What to put on the counter
Gather instant coffee or prepared cooled coffee, milk, drinking water if needed, ice, a serving glass and a spoon. A separate cup for dissolving instant coffee helps keep undissolved granules out of the finished drink. If you want foam, also set out a suitable small frothing vessel.
Follow the coffee pack’s serving instructions rather than assuming all instant coffees have the same strength. Dissolve any sugar or compatible flavouring at the stage your recipe recommends. You can add more sweetness later; you cannot easily remove it.
A practical assembly sequence
- Prepare a small coffee concentrate. For ordinary instant coffee, dissolve the measured coffee thoroughly using the amount and temperature of water directed by the pack.
- Allow the concentrate to cool enough for your glass and drink. Avoid pouring very hot liquid into a glass not designed for temperature changes.
- Build the serving glass. Add ice and cold milk, leaving room for the coffee and any topping.
- Add the coffee. Stir gently for an even drink, or pour carefully if you prefer visible layers.
- Add optional foam last. Froth a separate portion of milk, with no ice in that vessel, and spoon or pour it over the drink.
The coffee-concentrate and separate milk-topping approach also appears in NESCAFÉ’s iced-latte preparation. Our sequence is an adaptable workflow, not a claim that this particular HandyDost device has been tested against that recipe.
Adjust without making a larger mess
If the drink tastes watery, change the starting strength or the amount of ice next time rather than adding dry coffee directly to the cold glass. If it tastes too strong, add milk a little at a time. If the topping overwhelms the drink, prepare less foam rather than using a bigger glass to hide the problem.
For repeatability, note the coffee serving, milk amount and the glass you used. A familiar glass is a useful reference point. The aim is a routine you enjoy repeating, not a perfect photograph with an impractical number of ingredients.
Do the small clean-up immediately
Switch the frother off before taking it out of the milk. Wash the detached head and wipe the handle according to the cleaning guide. Return milk to refrigeration as its label requires, and do not leave a dairy drink waiting on a warm counter while you tidy everything else.
For related techniques, read hot versus cold frothing and instant coffee with a frother. Browse more everyday tutorials in the HandyDost library.