
Milk Frother Not Foaming? A Step-by-Step Troubleshooting Guide
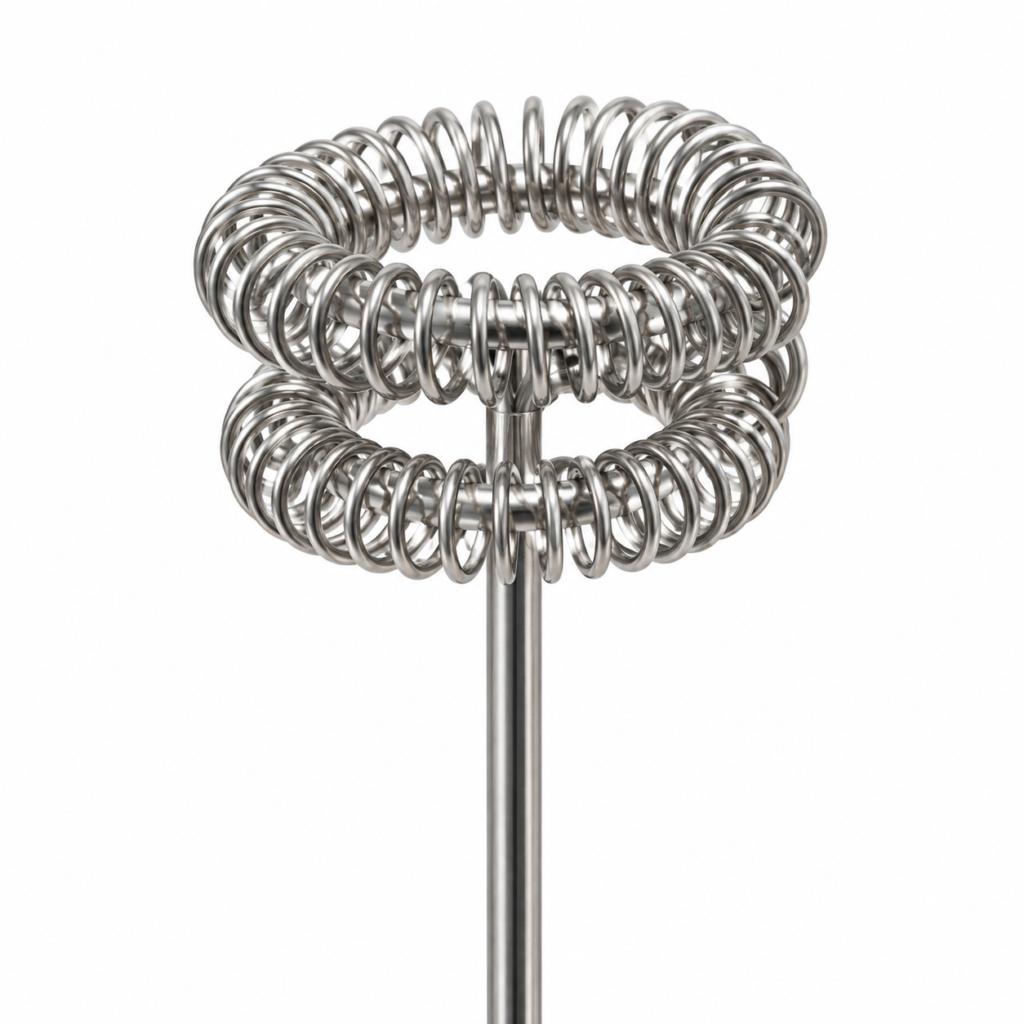
If the head spins but the milk stays flat, the problem is not automatically a faulty frother. Separate three questions: is the attachment turning properly, is it introducing air in a controlled way, and is the milk suitable for the result you want? Work through them in that order rather than running the motor for longer and longer.
First identify the symptom
No movement: switch off, check that the attachment is correctly fitted, then consult the unit’s power and charging instructions. Do not test an electrical handle that is wet, damaged or unusually hot.
Movement that seems weak: test only within the product’s intended light-mixing use. A thick mixture or contact with the cup can make the motor work harder. Do not assume a USB cable means the unit should be operated while charging.
Normal movement, little foam: move on to your milk, cup and head position. This is a different problem from a motor that does not start.
Use a plain-milk baseline
Start with a clean vessel, a clean coil attachment and a small amount of plain milk. Leave out coffee powder, syrup, cocoa and ice for this first check. It is a comparison test, not a recipe. If the milk foams on its own, something about your original mixture or preparation sequence is probably changing the outcome.
Note the milk type and whether it was chilled or warmed. Milk products vary, and the same frother can behave differently with different formulations. Nespresso’s milk-frothing troubleshooting also distinguishes milk freshness and composition from machine faults. Its machine-specific instructions are not interchangeable with those of a handheld wand.
Check the attachment and its position
Use the frothing head, not the balloon whisk, when your immediate aim is a milk-foam topping. Fit it firmly with the motor off. A coil buried at the bottom can mainly circulate liquid; a coil repeatedly breaking the surface can scatter milk and create a layer of coarse bubbles. Make small depth adjustments while keeping the spinning head clear of the vessel.
The HandyDost two-attachment beater includes a double-coil head and a separate balloon whisk. The photographs help identify each one, but they do not establish an exact speed or guaranteed foam volume.
Run a useful comparison, not ten random attempts
- Keep the same cup, attachment and milk quantity.
- Try your usual milk with no other ingredients.
- Repeat with a freshly opened, correctly stored alternative you already use.
- Compare the initial texture and what remains after you prepare the coffee.
- Write down the one change that improved the result.
A milk that creates a tall but quickly collapsing foam may not suit your drink as well as one that makes a smaller, finer topping. Judge the result in the cup you actually serve, not just in the mixing vessel.
When cleaning or replacement is the better next step
Inspect the coils for dried residue. Follow the cleaning method for removable heads rather than poking the motor connector or bending the wires. If the clean, correctly assembled device still stalls in a small amount of milk after the approved charging routine, stop experimenting and contact the seller with the symptoms.
Useful details for support are whether the motor starts, which attachment is fitted, whether it has ever worked normally, and what happens with plain milk. There is no need to send payment information. Photos of damage or a short demonstration can be more useful than simply saying ‘no foam’.
Related reading: comparing milk types, charging checks, and the full guide library.