
How to Use a Handheld Milk Frother Without the Mess
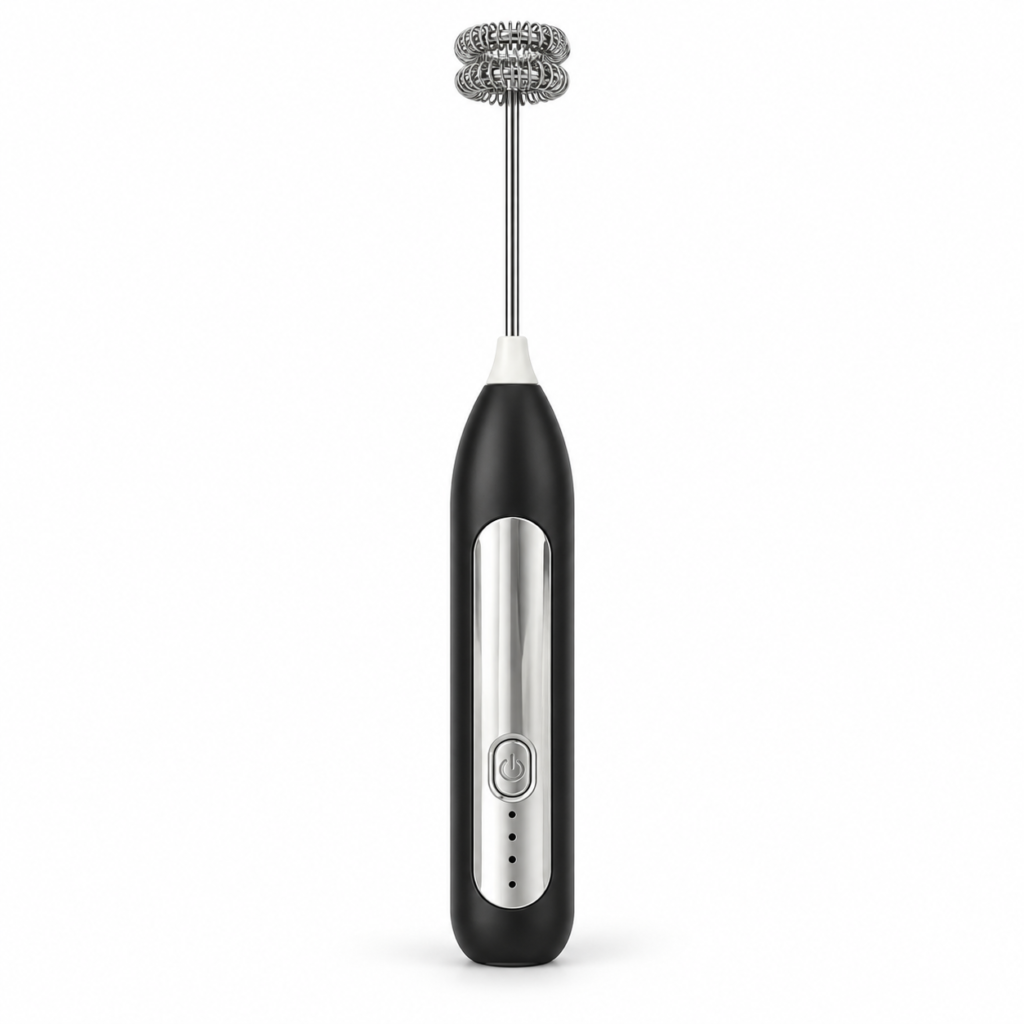
A handheld milk frother is easiest to control when you treat it as a small whisk, not a blender. Start with the attachment inside the milk, leave space above the liquid, and switch the motor off before lifting it out. Those three habits matter more than trying to copy a dramatic milk-splash advertisement.
This guide is for wand-style frothers. A jug frother with its own heater and a steam wand on an espresso machine work differently. The HandyDost Electric Coffee Beater & Milk Frother is a handheld tool supplied with a double-coil head, a balloon whisk and a USB cable. It is not advertised as a milk heater.
Set up the cup before starting the motor
Choose a stable, reasonably tall cup or jug with room for the head to turn without hitting the sides. Begin with a modest amount of milk rather than filling your drinking mug to the brim. You need space for movement and any foam that develops. A narrow opening that barely admits the whisk is not helpful either: the head needs clearance.
Put the vessel on a flat work surface. Keep the motor handle, charging connection and cable away from the liquid. Fit the coil attachment while the unit is off, following the supplied instructions. If the shaft looks bent or the head does not seat securely, stop and resolve that before switching it on.
A controlled first attempt
- Prepare the milk separately. Use milk suitable for your drink and follow its storage instructions. Warm it separately for a warm drink; do not expect the wand to heat it.
- Lower the coil into the milk. Keep it clear of the base and sides.
- Switch on while the head remains submerged. Watch the liquid rather than moving your hand rapidly.
- Adjust the depth gently. Bring the head nearer the surface if you need more aeration, but do not lift a spinning coil into open air.
- Stop before lifting. Wait for the head to stop, remove it, and pour or spoon the milk into the prepared drink.
These are general wand-handling principles, consistent with Zulay Kitchen’s handheld-frother guidance. They are not a claim that different models produce identical foam or have the same operating time.
Change one thing at a time
If your first cup produces large bubbles, do not immediately change the milk, vessel, temperature and attachment together. You will not know which change helped. Keep the same milk and cup, then try a slightly different head position. Next, compare a smaller quantity. Record whether you wanted a light foam topping or milk that pours more smoothly; those are different goals.
Do not chase a fixed number of seconds. Milk formulation, amount and the particular frother affect the result. The HandyDost listing does not specify an independently verified frothing time, so a promise such as ‘perfect foam in ten seconds’ would be misleading.
Finish the job, not just the drink
Switch off and disconnect before cleaning. Remove the attachment as instructed, wash the detached head and dry it. Wipe the handle rather than immersing it. Put the clean tool where the shaft cannot be bent by heavier utensils. This makes the next use simpler than discovering dried milk between the coils.
For the next step, see why a milk frother may not be foaming, how to reduce splashes and the separate cleaning guide. Browse the HandyDost guide library for more practical home advice.