
Can You Make Latte Art with a Handheld Milk Frother? Set Realistic Expectations
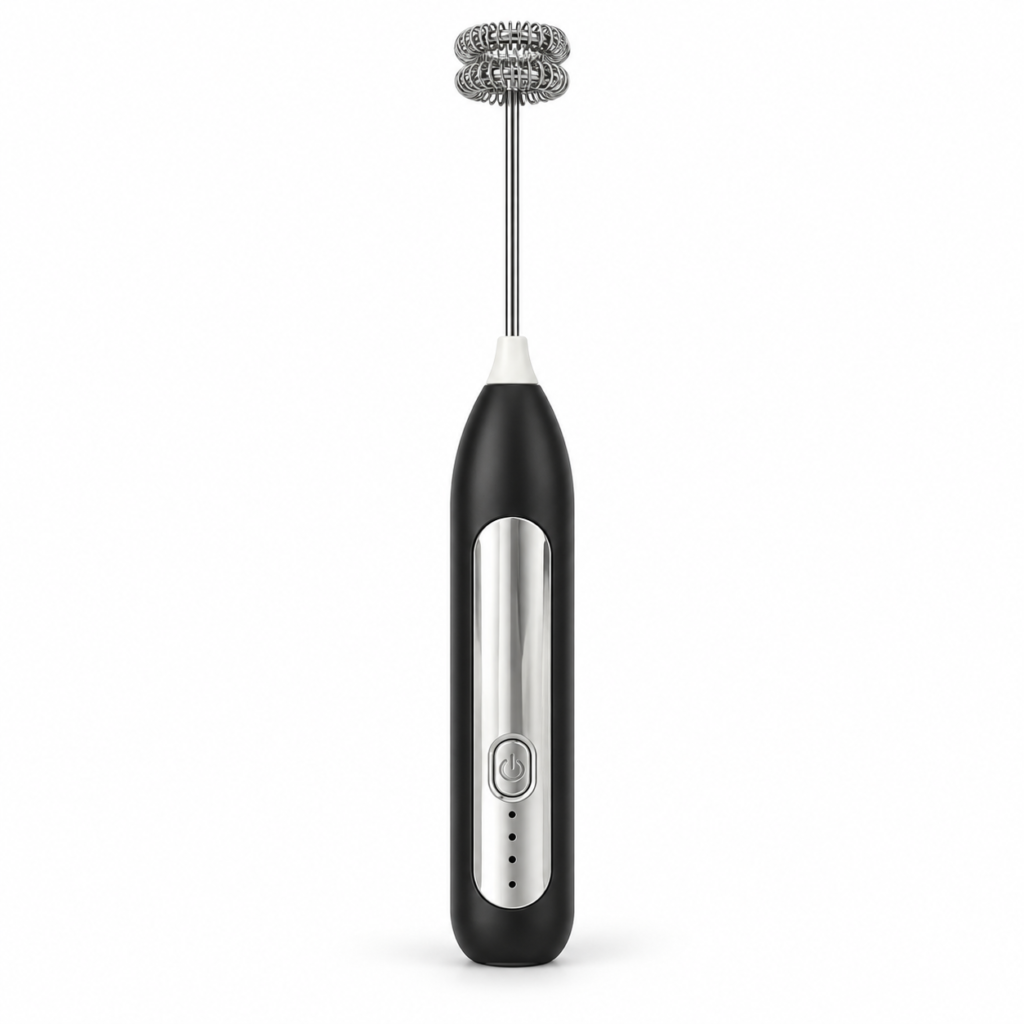
A cup covered with frothy milk can look attractive without containing the fine, flowing texture needed for free-pour latte art. A handheld frother may help you experiment, but a visible layer of bubbles is not evidence that it will pour a heart or a rosetta.
For HandyDost’s handheld model, there is no independent latte-art performance test to cite. Treat decorative pouring as an experiment rather than a promised product feature.
Foam volume and pouring texture are different goals
Think about what happens when you tilt the vessel. Does the milk flow as one fairly uniform liquid, or does thin milk run out while a stiff bubble cap stays behind? The second behaviour makes controlled drawing difficult, however impressive the foam looked in the cup.
Breville’s explanation of its milk-texturing system connects latte art with silky microfoam produced by its steam wand. It is useful context for the required texture, not proof that a separate handheld product can reproduce the machine’s results.
Choose a modest first objective
Start with a small, even white patch in the coffee rather than a complex pattern. That lets you evaluate how the milk leaves the pitcher before adding coordinated side-to-side movement. A simple pour that stays within the cup is a more useful learning step than repeatedly spilling a full mug.
Prepare the coffee and warm the milk separately when required. Use a vessel designed for the temperature of the liquid. Keep the frother’s motor and connection area dry, and follow its supplied instructions for operation and run time.
Make your practice comparison useful
Keep the coffee quantity, milk product and vessel consistent for a few attempts. Change only one element, such as the amount of air introduced, rather than buying another milk and changing every part of the method at once. Use a phone note with three observations: bubble size, whether the milk pours together and whether the white mark stays on the surface.
Do not interpret a single successful photograph as a repeatable result. Equally, one unsuccessful attempt does not identify the motor as the cause. Pitcher shape, cup shape, the coffee surface and your pouring movement all belong in the comparison.
Read the result before adjusting
| What you see | What to investigate next |
|---|---|
| A dry-looking foam mound | Whether you introduced more air than the pouring task needs |
| Milk and foam leaving separately | How uniform the mixture is immediately before pouring |
| A thin white stream with no clear shape | The starting distance, flow and coffee surface, one variable at a time |
| Liquid spilling over the rim | The total drink quantity and space reserved in the cup |
These are observation prompts, not a diagnosis of a particular appliance. Avoid trying to correct every result with a longer motor run. Stop if the tool stalls, becomes unusually hot or its attachment is loose.
A foam topping is a valid finish
You do not need latte art to enjoy a drink. Spoon a light foam topping over your coffee and keep any garnish simple. This uses the result you have instead of wasting several drinks chasing a picture.
See the HandyDost frother’s listed components, the basic wand method and our comparison of frother types. More preparation guides are collected in the HandyDost blog.
Prepared with AI assistance; no hands-on latte-art test is claimed.