
Hot vs Cold Milk Frothing: What a Handheld Wand Can Do
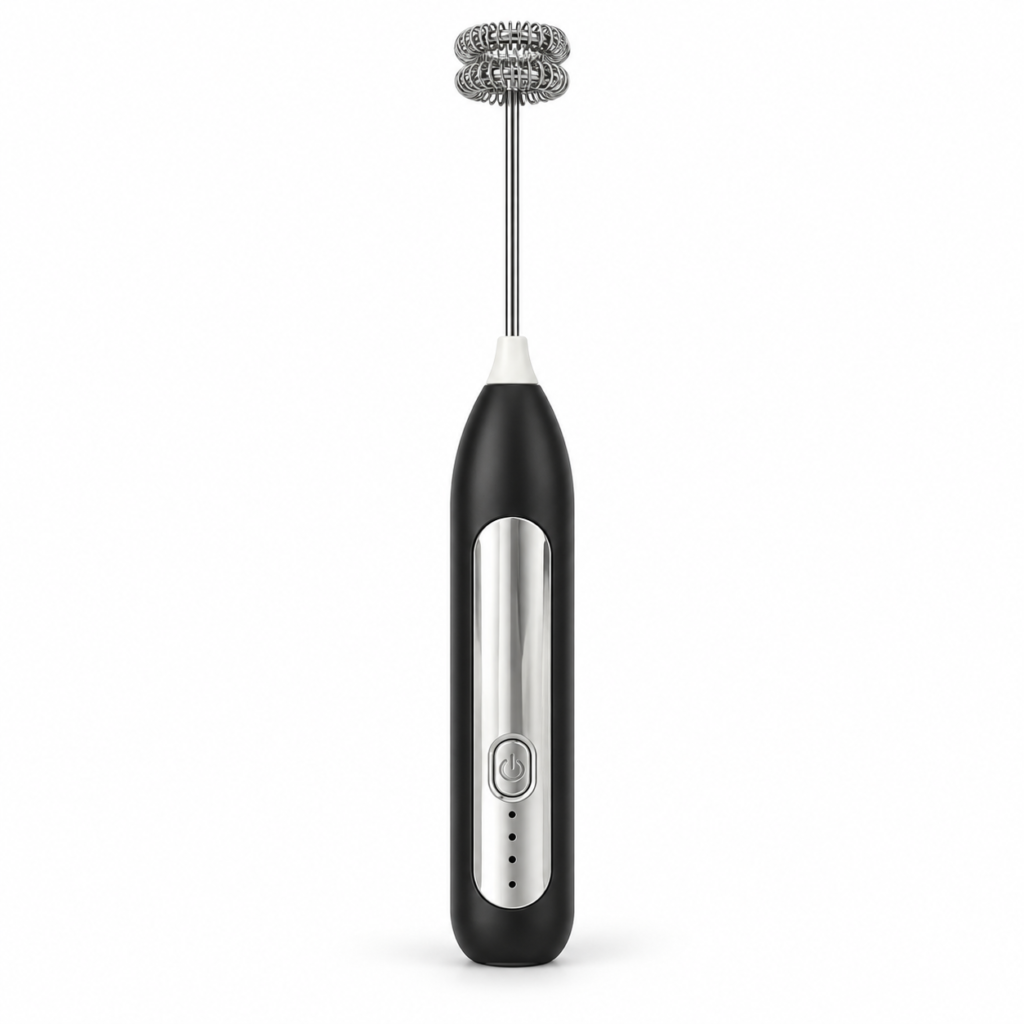
Warm milk foam and a cold foam topping are both possible with suitable milk and equipment, but a handheld wand does not heat the milk for you. Decide whether you want a hot or iced drink first, then prepare the milk accordingly. Do not select a tool on the assumption that every product called a milk frother has a heating function.
Separate temperature from aeration
A handheld motor turns its attachment. Heating, when required, is a separate step. An automatic jug may combine heating and frothing, while an espresso-machine steam wand introduces steam. Those are different systems, even when their product names sound similar.
For example, IKEA describes its handheld PRODUKT frother for cold or hot milk. That demonstrates the distinction between frothing and heating; it does not establish the operating time, power source or performance of another brand. The HandyDost beater listing describes an electric handheld mixer with interchangeable heads, not a heated jug.
For a warm drink
Prepare the coffee before the milk so you are not leaving finished foam sitting while searching for a spoon or measuring coffee. Warm the milk separately using equipment appropriate for heating it. Use a temperature you can handle safely; do not operate a handheld tool over a pan on an active flame.
Transfer the milk to a stable vessel with enough headroom. Fit the frothing head while the motor is off, place the head inside the milk, and begin gently. Stop before lifting. Add the milk to your coffee, then decide whether you prefer to pour the liquid first and spoon the foam on top.
Do not use boiling milk as a way to compensate for weak frothing. Start again with a controlled milk quantity and the correct attachment instead of increasing both heat and motor time without a plan.
For an iced drink
Froth a separate portion of cold milk in a small vessel, then add it to your drink. Keep ice out of the frothing vessel. A drink frother is not an ice crusher, and contact with hard ice is outside the intended light-mixing use of the HandyDost tool.
Build the serving glass separately with coffee, milk and ice in the order your recipe uses. Add the foam last if you want it to remain a visible topping. If you want the entire drink evenly mixed instead, stir the coffee and milk before adding that final layer.
Compare fairly at home
Use the same milk brand, similar starting quantities and the same clean attachment for your comparison. Change the temperature, not every variable. Record three observations: how easily foam forms, whether the bubbles are fine or coarse, and how the texture looks when you actually drink it.
Do not expect every milk to behave identically. Nespresso’s milk-selection guidance notes differences connected with milk composition and freshness. A result from one milk-and-machine combination is not a universal ranking of all fresh, UHT or plant-based products.
Choose the result that suits the drink
A tall, dry topping is not automatically better than a lower, smoother one. For a drink you sip through a lid, practical pouring may matter more than height. For a layered iced drink, a distinct topping may be the goal. Define success in those terms instead of comparing your cup against advertising imagery.
Read the milk comparison guide and iced coffee without a blender. All tutorials are collected in the HandyDost guide library.