
Organise a Small Kitchen Drawer Around the Tools You Use
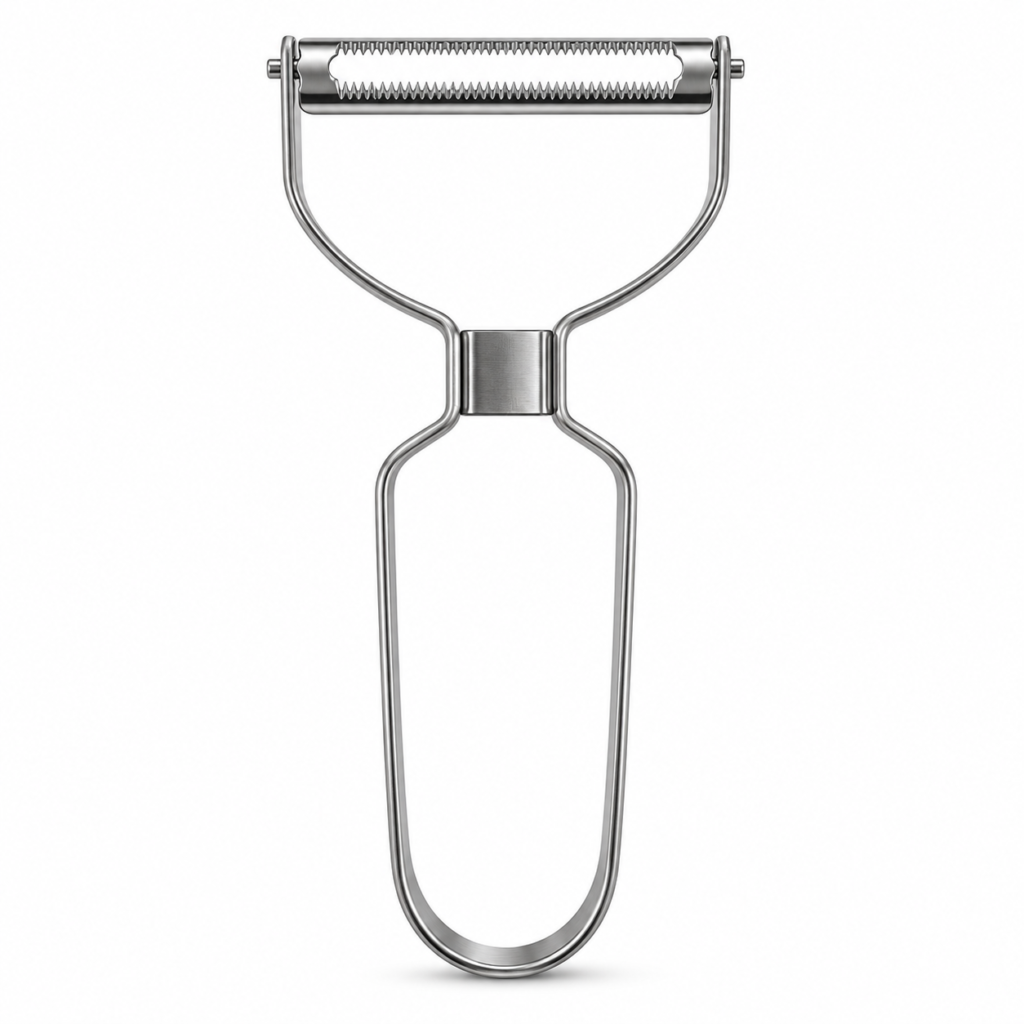
Start a small-drawer reorganisation by removing tools you do not use from the everyday zone, not by ordering a large organiser. The best layout lets you see and reach the tools you use often while protecting sharp edges, delicate wires and electrical parts from the rest of the pile.
Measure the usable drawer, not just its front
Check the inside width, depth and height, including anything that reduces clearance when the drawer closes. A tall tool can appear to fit while the drawer is open and still catch beneath the counter. Measure the actual tools too, especially a patty press with a raised handle.
Sketch the space on paper and place the clean, dry tools in rough groups before buying dividers. This is a proposed organisation method, not a requirement to buy a matching storage set.
Sort by handling needs
Sharp items: give the vegetable peeler a visible position where someone will not reach across the blade. Use a supplied cover if one exists; do not assume a cover comes with every peeler.
Delicate cutting frames: keep the egg slicer away from heavy utensils that could press on its wires.
Motor and attachments: store the dry coffee-beater handle and heads so the shafts are not bent and the charging cable stays away from damp cleaning tools.
Bulky tools: place a burger press in a position where its handle and moving plate do not jam against the drawer.
Make an everyday zone and an occasional zone
Put frequently used tools near the front, but not at the cost of exposing a blade. Keep occasional tools behind them or in another suitable cupboard. If an item is rarely used and difficult to store, ask whether it belongs in your limited everyday space at all.
You can test the layout with existing trays or small dividers before buying anything. The test is whether the drawer closes smoothly and each item can be removed without lifting three others.
Leave a drying step outside the drawer
Storage should receive clean, dry tools. A compartment cannot make a damp brush or wet attachment dry effectively simply by hiding it. Give washed parts a suitable drying location first, then return them to their assigned space.
For the HandyDost products, the current listings instruct drying after washing, and the electric beater’s motor handle must not be immersed. Those care needs are a reason to separate cleaning from storage rather than a claim that one drawer layout prevents germs.
Use a one-week observation list
After arranging the drawer, note what you actually reach for. Record any tool that catches, any blade that is difficult to see and any item repeatedly left on the counter because returning it is awkward. Change those specific problems instead of replacing the whole organiser.
If you have duplicate tools, compare their condition and purpose. Keep the ones that reliably solve distinct tasks. Do not discard another household member’s equipment without agreeing on what is used and where it belongs.
A quick closing check
Before calling the job finished, open and close the drawer normally. Remove and replace each sharp or delicate tool once. Check that heavy utensils do not slide onto wire frames and that children cannot access cutting tools. A layout that looks tidy but makes safe retrieval difficult needs another adjustment.
See peeler care, egg-slicer wire protection and space-first buying for a rented home. More ideas are in the HandyDost guide library.