
How to Clean and Store a Vegetable Peeler Safely
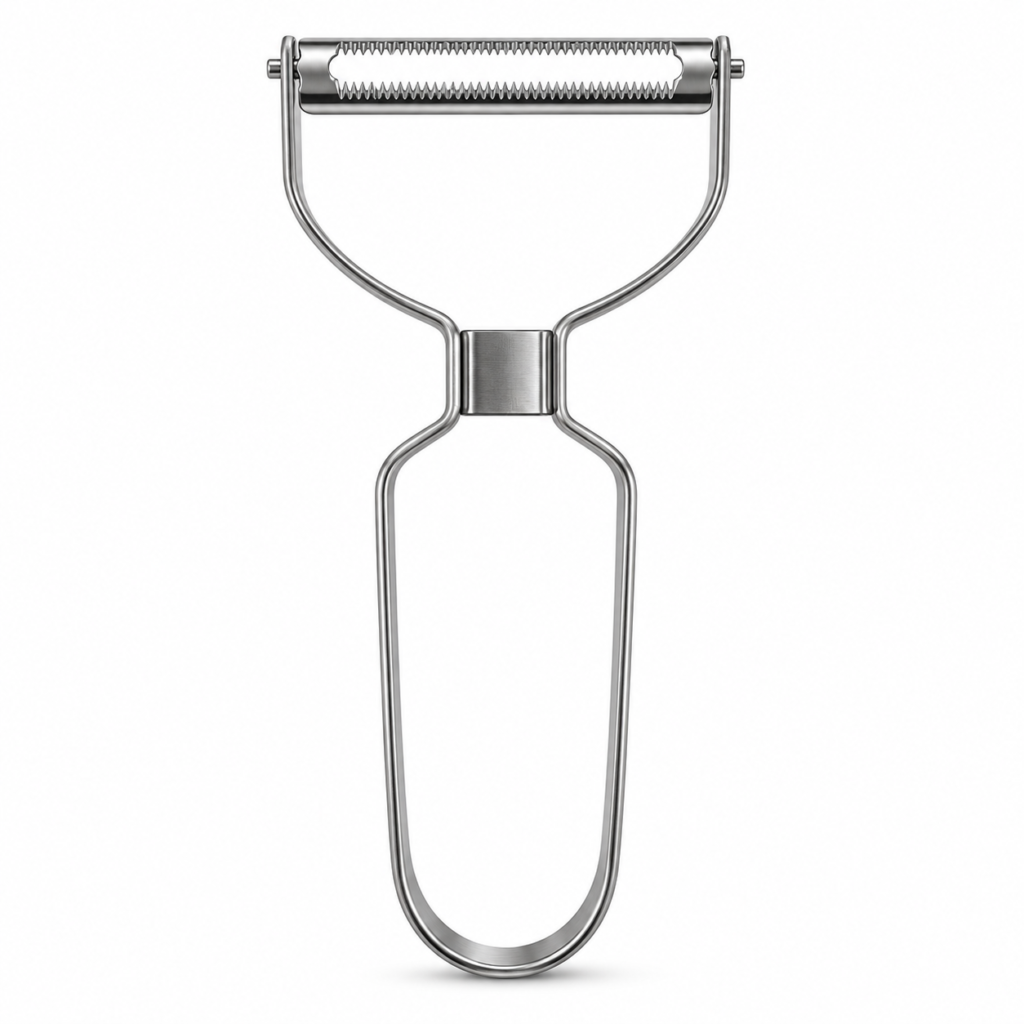
A vegetable peeler needs more than a quick rinse across its handle. Clear the cutting head, wash the surfaces that touched food, rinse away cleaner and dry the tool before storage. Keep the blade visible throughout the process so nobody reaches into it unexpectedly.
Do not lose the blade in the sink
Set the used peeler aside in a clearly visible place rather than dropping it into cloudy washing-up water. Remove loose scraps before washing. Keep the cutting head pointed away from your fingers and avoid wiping along the sharp edge.
If another person is doing the washing, make the peeler easy to identify. A small tool hidden beneath a plate is not harmless because it takes up little space.
Follow the specific care instructions
The HandyDost serrated Y-peeler listing recommends hand-washing, using a suitable cleaning brush around the blade, and drying before storage. It does not certify a dishwasher cycle, a metal grade or a chemical treatment.
Even where another manufacturer’s peeler is dishwasher-safe, that claim should not be transferred to an unverified model. Check the current product instructions before using high heat, soaking chemicals or abrasive cleaners.
Work through the cleaning sequence
- Remove peel trapped around the blade with a soft cleaning brush.
- Wash the handle, frame and head with water and washing-up liquid suitable for kitchen utensils.
- Rinse around the blade mounting points, not just across the broad surfaces.
- Inspect under good light for food that remains in a gap.
- Dry the tool and let any remaining moisture escape before closing it inside storage.
Do not poke a metal skewer or knife into the head to clear a blockage. If the residue cannot be removed without bending the cutting arrangement, ask the seller for a suitable care method.
Check condition as well as cleanliness
After washing, look for looseness, damaged edges or a distorted frame. Cleaning does not repair mechanical damage. A tool that moves unpredictably should be put aside until its condition is resolved.
Do not sharpen an unfamiliar serrated peeling head based on instructions for a kitchen knife. The cutting arrangement may be different, and modifying it can change how it sits in the frame.
Give the dry peeler a defined storage spot
Use a supplied blade cover if there is one, but do not assume a cover is included without checking the package contents. Otherwise, choose a compartment that prevents casual contact with the blade and keeps heavier utensils from pressing on the head.
A drawer organiser is useful only when it fits the actual tools. Measure the peeler with the drawer open and closed, and make sure the head does not catch as the drawer moves. Keep sharp tools out of children’s reach.
Reduce the next cleaning job at the source
Collect peel in a bowl or on a designated part of the board and clear the blade between awkward sections. Keeping scraps from building up makes it easier to see the cutting head and reduces the temptation to scrape it with your fingers.
If your peeler repeatedly skips despite being clean, the issue may be technique, ingredient condition or blade suitability. Read the troubleshooting guide rather than applying more force. For a comfortable preparation sequence, see how to use a Y-peeler, and for storage ideas, see the small-drawer guide. Browse all articles in the HandyDost library.